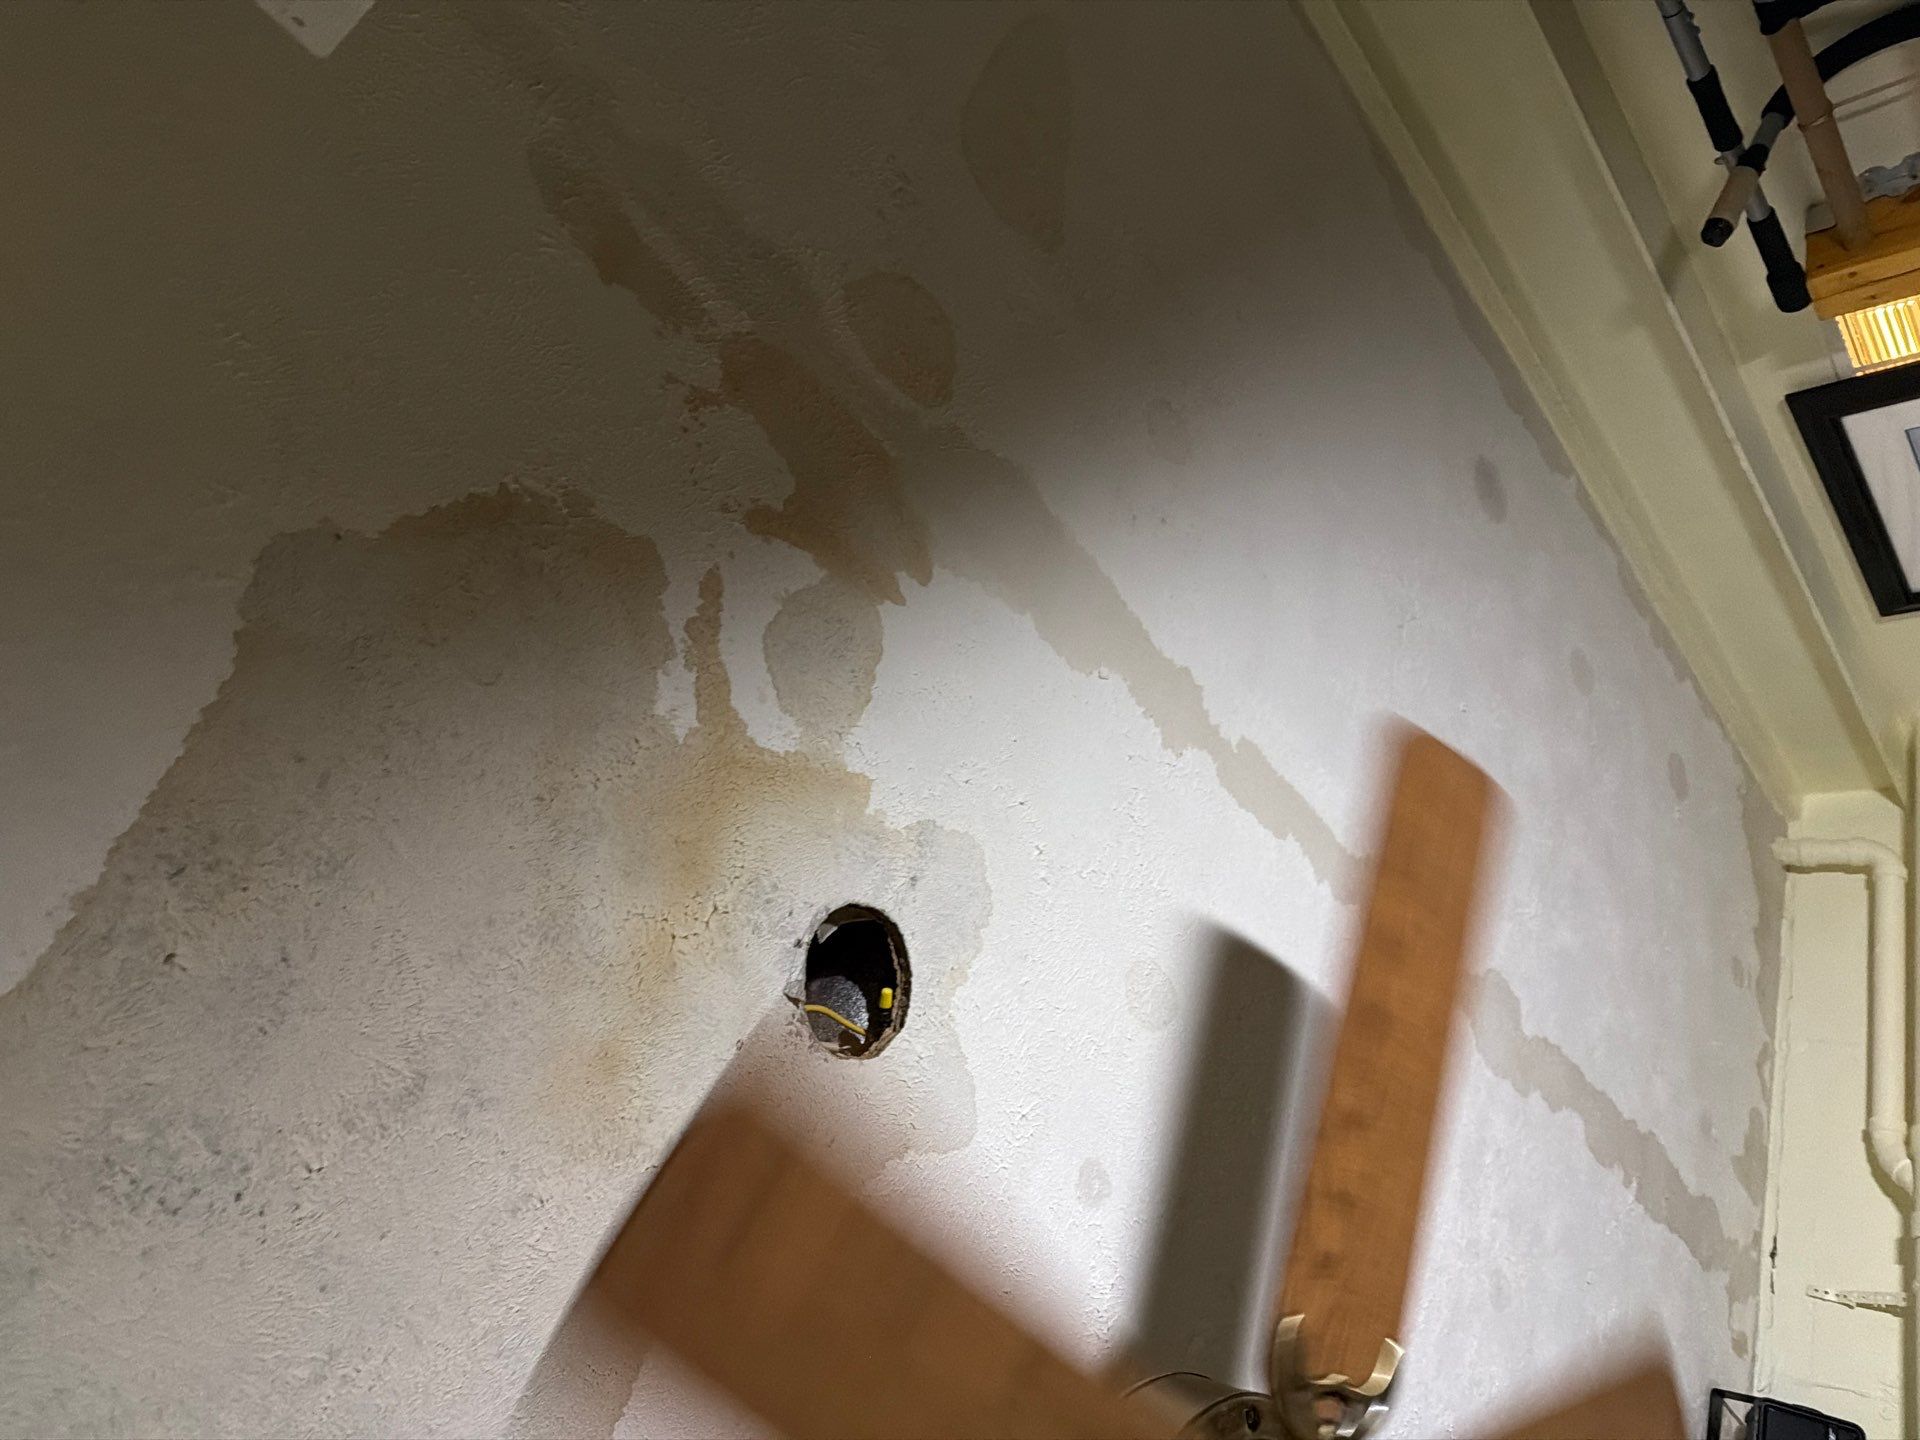
Step 1: Identify the Water Category
- Category 1 (clean water): Supply line breaks, water heater leaks, refrigerator lines. Drywall is often salvageable if dried within 48 to 72 hours.
- Category 2 (grey water): Washing machine discharge, dishwasher overflow, aquarium spills. Porous materials saturated more than 24 hours are typically removed.
- Category 3 (black water): Sewage, toilet overflow from beyond the trap, rising groundwater, storm intrusion. Drywall contacted by Category 3 water is removed without exception.
Category drives every cut decision that follows. Review our water damage category guide for the full classification matrix. Note that category can escalate over time: a Category 1 loss left untreated for 48 hours frequently reclassifies to Category 2 due to microbial amplification, which changes the removal scope on arrival.
Step 2: Map the Wet Zone with Instruments
- Scan walls with a non penetrating moisture meter (Tramex or equivalent) at 6-inch intervals from floor to ceiling.
- Confirm suspect areas with a pin meter reading the gypsum core. Target dry standard: under 1% moisture content, or matching a verified dry reference wall.
- Run a thermal imaging camera across the perimeter to flag cold spots indicating hidden moisture behind paint or wallpaper.
- Mark the highest wet reading on each wall with painter's tape. This becomes your cut reference line.
- Record all readings, room by room, with timestamp and ambient conditions (temperature, RH).
- Re scan adjacent rooms, the floor below if applicable, and any shared wall cavities. Water travels laterally along bottom plates and vertically down stud bays, often surfacing 10 to 20 feet from the source.
When Yorktown Water Restoration crews arrive in Yorktown, in most cases within 2 hours of the call, the first 30 minutes on site are spent mapping before any demolition begins. Cutting before mapping wastes drywall and misses hidden saturation.
Step 5: Make the Cuts Cleanly
- Snap a chalk line at the determined height across the full wall.
- Score with a utility knife first, then cut with an oscillating multi tool to control dust and avoid hidden wiring or plumbing.
- Set blade depth to 5/8 inch maximum to protect anything in the cavity.
- Remove debris into 6-mil contractor bags. Category 2 and 3 debris double bagged and labeled.
- HEPA-vacuum the cut edge and surrounding floor before any drying equipment is staged.
- Leave a clean, straight horizontal line. A ragged cut adds hours of float work at rebuild and shows through paint under raking light.
Step 7: Dry the Structure Before Rebuild
- Stage low grain refrigerant dehumidifiers sized at 1 AHAM pint per 30 to 50 square feet depending on Class.
- Position air movers at 16 foot intervals along open cavities, angled at 15 to 45 degrees off the wall surface.
- Target conditions: 60 to 80 degrees F, relative humidity under 50%, GPP differential of 30 to 40 between affected and unaffected spaces.
- Monitor daily. Document meter readings on framing, sheathing, and any remaining drywall edges.
- Drying complete when all materials hit dry standard for 24 consecutive hours. See our breakdown of how long a dry out takes for realistic timelines.
Step 6: Containment and Air Management
- Category 1 jobs: standard containment with poly sheeting at room openings if dust migration is a concern.
- Category 2 jobs: full containment with negative air, one HEPA air scrubber sized to 4 to 6 air changes per hour.
- Category 3 jobs: critical barrier containment, negative pressure verified with manometer at minus 5 pascals, decontamination chamber at entry.
- Seal HVAC supply and return registers in the affected zone with 6-mil poly and tape to prevent cross contamination through the duct system.
Step 4: Inspect the Wall Cavity
- Remove insulation in any cavity that read wet. Fiberglass batts that absorbed water lose R-value and harbor mold. Closed cell spray foam may be salvageable if no staining is present.
- Inspect bottom plates, studs, and sheathing with a pin meter. Framing above 19% moisture content requires extended drying before close up.
- Photograph every cavity for the claim file. Our crews shoot wide, mid, and detail shots at each opening.
- Check for pre existing conditions: old water stains, prior repairs, active leaks. Document these separately so they are not confused with the current loss.
- Look for electrical junction boxes, low voltage runs, and plumbing inside the cut zone. Flag any that need a licensed trade before close up.
Step 8: Antimicrobial and Pre-Rebuild Verification
- Apply an EPA-registered antimicrobial to cavity surfaces on Category 2 and 3 losses.
- Final moisture survey of all framing, plates, and adjacent drywall.
- If mold growth was visible at any point, follow S520 protocols and consider post remediation verification testing. Our guide on mold air testing explains when clearance sampling makes sense.
- Release written drying log with dated readings to the homeowner and adjuster.
Step 9: Rebuild Specifications
- Replace removed drywall with matching thickness (typically 1/2 inch in living spaces, 5/8 inch on garage walls and ceilings).
- Use moisture resistant board in bathrooms and laundry areas.
- Tape, mud in three coats, sand, prime with stain blocking primer, and finish paint to a clean break line.
- Reinstall trim, baseboard, and any salvaged fixtures.
- Match texture before paint. Knockdown, orange peel, and smooth Level 5 finishes each require a different application technique to blend invisibly into the original wall.
Step 3: Decide Cut Height by Saturation Pattern
- Wicking under 2 inches, Category 1: No removal. Drill 1/2-inch weep holes at the base plate, remove baseboard, dry in place with directed airflow.
- Wicking 2 to 16 inches, Category 1 or 2: Standard flood cut at 24 inches above the floor. This gives clean access, fits a half sheet of replacement drywall, and removes the wet zone with a safety margin.
- Wicking 16 to 36 inches: Cut at 48 inches. A full sheet installs horizontally with one seam.
- Wicking above 48 inches or ceiling involvement: Full wall removal to the top plate. Ceiling drywall sagging more than 1/4 inch or showing brown staining comes down entirely.
- Category 3 contact: Minimum 24-inch cut above the highest visible contamination line regardless of meter readings.
- Wallpapered or vinyl coated walls: Treat as a vapor barrier. Even minor saturation behind these surfaces traps moisture, so cut heights move up one tier above what meter readings alone would suggest.
Step 10: Final Walkthrough and Documentation
- Walk every affected room with the homeowner. Confirm cut lines are sealed, paint is uniform, and no debris remains in cavities, closets, or wall cavities behind cabinets.
- Deliver a complete file: scope, photos, daily moisture logs, antimicrobial product data sheets, and rebuild invoices.
- Provide a 12 month written workmanship note on the rebuild scope. Yorktown Water Restoration keeps a copy on file for every Yorktown job in case questions surface at resale or future claim review.